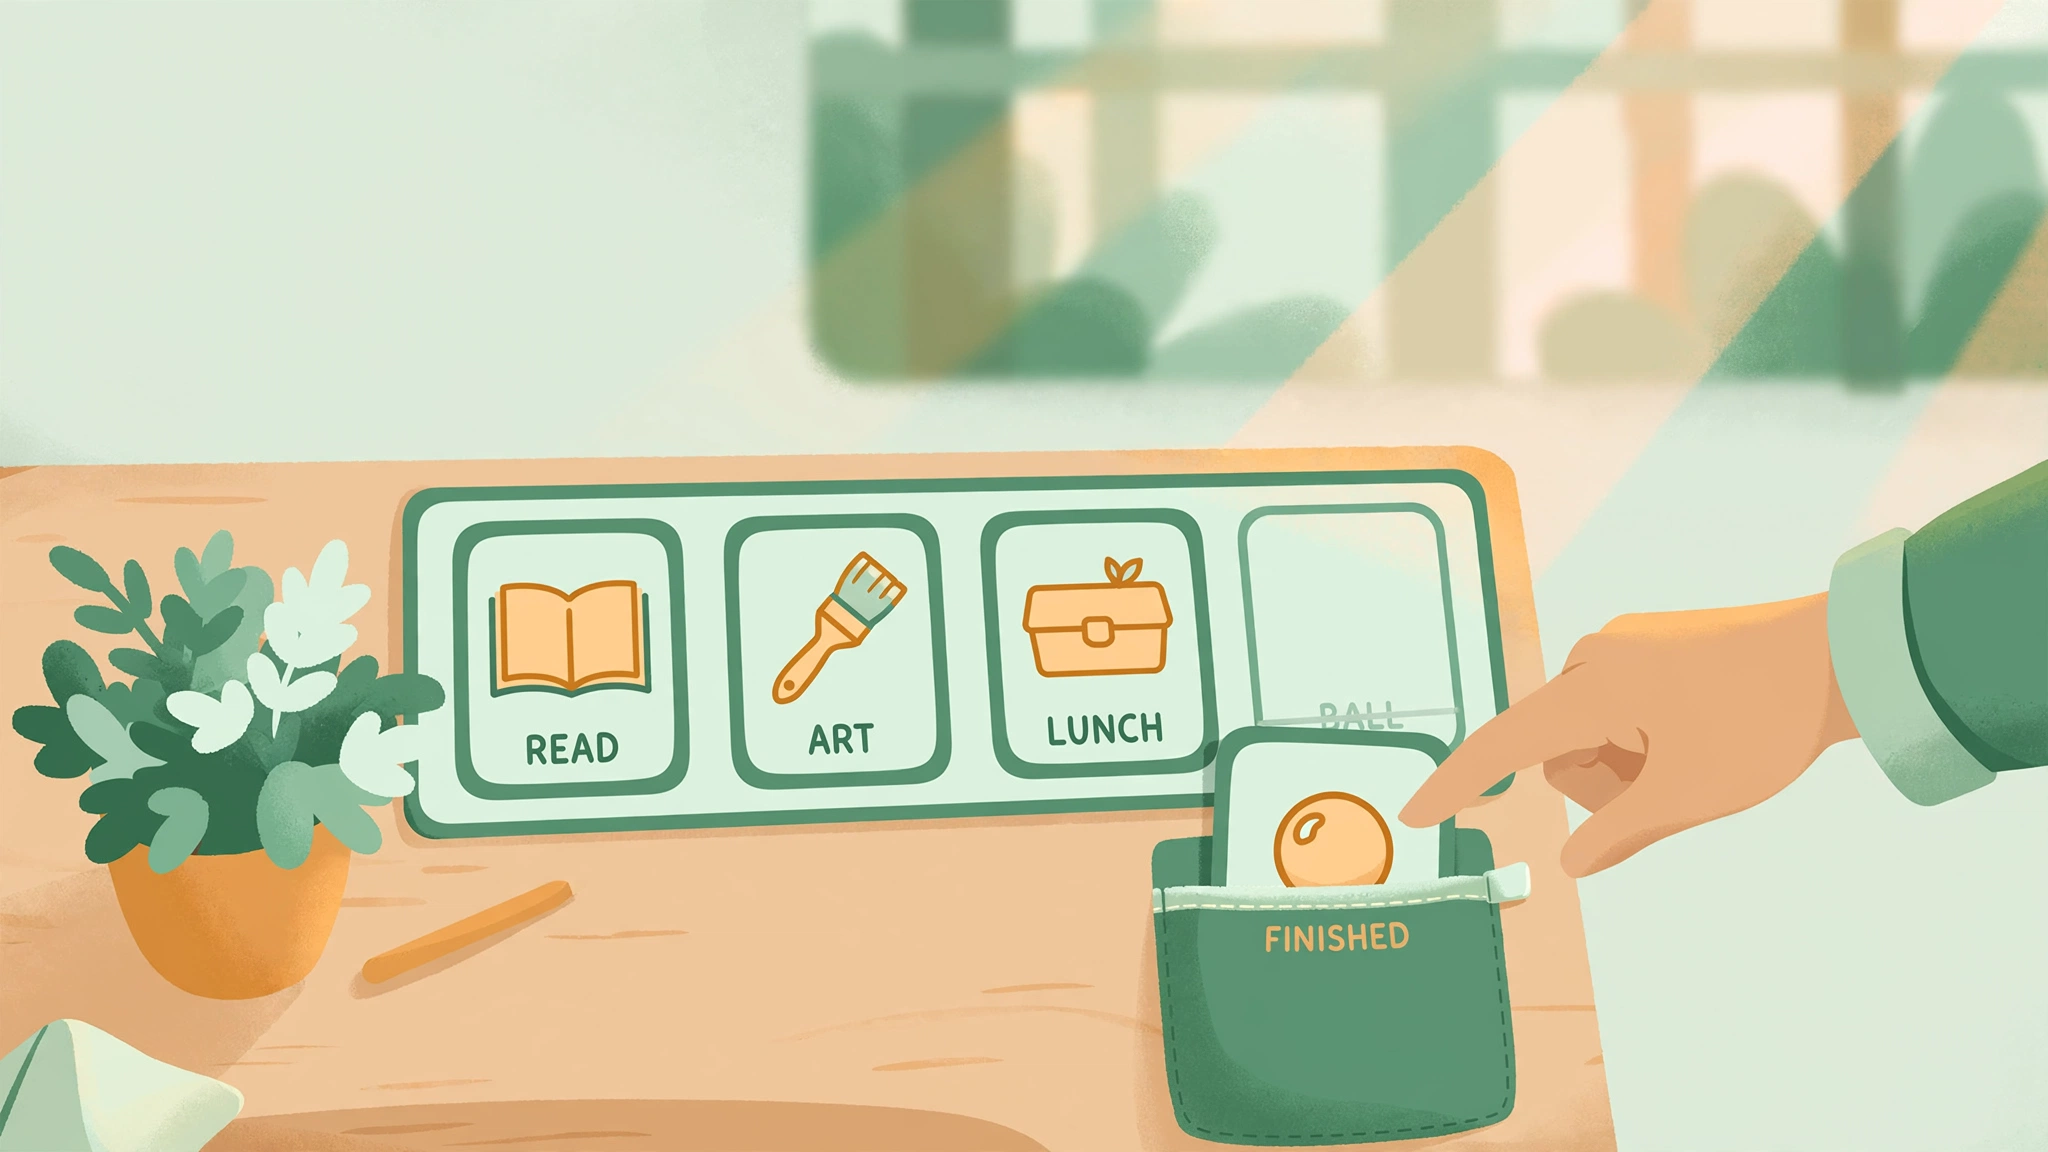
You laminated the cards, hung the strip, and the student walked past it. That moment does not mean the student "won't use" a visual schedule. It usually means the schedule does not yet fit this student's understanding, communication, or day. A visual schedule works when it is built for one person, taught on purpose, and adjusted as that person changes.
This guide walks through that process in order: observing the student, choosing a format, building the schedule, teaching it, keeping it current, and troubleshooting. It is a companion to our overview of five classroom visual schedule strategies. That article describes the approaches. This one shows how to match an approach to a specific student and keep it working through the school year.
Why the setup process matters
The National Clearinghouse on Autism Evidence and Practice (NCAEP) identifies visual supports as an evidence-based practice for autistic children and youth, and the IRIS Center lists visual schedules as one category of visual support. The AFIRM Visual Supports module from the Frank Porter Graham Child Development Institute describes a visual support as a display that helps a learner engage in a desired behavior or skill independent of additional prompts.
Independence is the point. The IRIS Center at Vanderbilt University is explicit that for visual supports to be effective, educators must teach students how to use them, and that the supports should be age and developmentally appropriate. A schedule posted without teaching is a decoration. A schedule that is taught, individualized, and monitored becomes a tool the student can read for themselves.
The research base also asks for modesty. A 2024 literature review by Liang and colleagues examined 10 single-case studies with 31 autistic students ages 4 to 19. All of the studies reported positive outcomes for academic-related on-task behavior, and the schedules took four formats: photographs, pictures, text, and video, with some presented on an iPad or iPod. Every study combined the schedule with other strategies, most often prompting and reinforcement, so the review cannot show what a schedule does on its own. A 2025 review by Mouzakes and Thompson of the visual-schedule component of interventions to improve transitions reached a similar caution: it found insufficient evidence that the schedule component itself contributed to improved transitions. Treat a visual schedule as one part of a supportive classroom, alongside communication access, sensory regulation, and respectful relationships. The steps below combine these sources with practical classroom guidance from this guide. Where a recommendation is not tied to a source, it is a suggestion to adapt to your student, not a research finding.
Step 1: Observe before you build
Spend a few days watching the student's day before you make a single card. You are looking for the specific moments where information is missing, not for behavior to correct. Useful questions include:
- Where does the day get hard to follow? Arrival, switching from preferred to non-preferred activities, moving to specials, unstructured time, and substitute days are common candidates.
- How does the student already understand information? Notice whether they respond to real objects, photographs, pictures, symbols, or written words. Notice what they already read or recognize in the room.
- How does the student communicate? If the student uses AAC, the schedule's symbols and vocabulary should match the AAC system so the student is not translating between two sets of pictures.
- What are the physical and sensory needs? Consider vision, reach, fine motor skills for peeling and placing cards, and how the student reacts to glare, clutter, or sound from a device.
- What does the student say they want? Ask the student, in whatever way they communicate, and ask their family. Families often already use a picture system at home, and matching it saves the student from learning a second one.
Write down one routine to start with, such as arrival or the move to lunch. A narrow target gives you a clear answer about whether the support is helping. Our guide to visual communication tools can help you see how a schedule fits alongside PECS, AAC, and choice boards.
Step 2: Choose the format, the length, and the location
Three decisions shape a schedule, and each depends on what you observed.
Format: what the student sees
- Objects or object parts suit students who understand something they can hold. A spoon for snack or a book for reading time is a complete, respectable format, not a lower step.
- Photographs of the actual room, person, or item work for students who connect images to real places. Photos of your own classroom are easier to match than generic clip art.
- Line drawings or symbols are compact and easy to edit, and they can match the student's AAC symbol set.
- Written words fit students who read and prefer text. A checklist the student crosses off is a visual schedule too.
- A combination such as a symbol with a word beneath it keeps options open and helps teammates, substitutes, and peers read the schedule.
Length: how much of the day to show
- Now and next works as a starting point for students who are new to schedules or who find a longer list overwhelming.
- A few steps covering the next three to five activities suits many students once now and next is familiar.
- Half day or full day helps students who want the whole map, and some students feel calmer when they can see how far along they are.
Begin with the shortest version the student can use and extend it only when the student shows you they want or can manage more.
Location: where the information lives
- At the desk or work area puts the plan within reach and within view.
- Portable versions, such as a small binder, a lanyard card, or a clipboard, travel to specials, the hallway, and the cafeteria.
- On a classroom station or wall helps a whole class share a routine and gives substitutes a map.
- On a tablet or classroom display makes edits quick and can add audio or a visual timer. Keep a paper copy in the same place in case the device is unavailable, and check how the student responds to the screen itself.
The IRIS Center notes that structure, predictability, and visual supports benefit all learners in a classroom, so a format that looks ordinary in the room tends to be easier for everyone to keep up.
Step 3: Build it with the student
A schedule feels different when the student helped make it. Invite choices wherever they are real: which picture represents snack, what color the strip is, where it sits on the desk, and the order of activities when the order is flexible.
Build in these elements from the start:
- Activity cards the student recognizes. Test a card before you rely on it. Hold it up in the real place and see whether the student connects it.
- A finished spot. A pocket, a folder, or a "done" envelope shows progress and removes completed items from the line of sight.
- A change card. Plans move for fire drills, assemblies, and absent staff. A change card gives you a predictable way to show it.
- Break, help, and choice cards. These are part of the student's communication access, so they stay available all day. They are never prizes for finishing work.
- Accessible design. Use large images, strong contrast, a clear layout, and a way of moving cards that suits the student's motor skills.
Keep the language on the cards short and consistent. If a card says "Library," say "library" when you point to it, every time.
Step 4: Teach it, then step back gradually
AFIRM's teaching guidance for visual schedules gives three clear instructions: place the schedule information in the learner's hand, use concise and relevant words, and identify only where the learner is going. That means skipping a long explanation of the entire day. A short, consistent routine works better. The model, guide, and return steps below are this guide's suggested sequence built on that instruction, not a tested protocol.
- Model. Show the routine yourself: look at the schedule, take or move the first card, go to the activity.
- Guide. Hand the card to the student and walk with them to the place it names. Use one short phrase such as "Library."
- Return to the schedule together. After the activity, go back to the schedule, move the card to the finished spot, and look at the next one.
- Prompt only as much as needed. Start with whatever support the student needs, such as a hand-over-hand guide or a point, and then use less over time.
- Thin the prompts, keep the visual. The goal is for the student to check the schedule without an adult cue. The schedule itself stays in place. Many students will use one for years, and that is appropriate.
Practice a planned change early, while the student is calm. Show the change card, name the new activity, and offer a choice inside the new plan if there is one. IRIS recommends giving advance notice of changes whenever possible, so tell the student as soon as you know.
Step 5: Get everyone using the same system
A schedule used by one adult covers only part of the day. Share the system with paraprofessionals, specials teachers, the lunch and recess staff, substitutes, and the student's family. Give each person a short description of the format, how you teach it, and what you want them to do when the student does not check it.
AFIRM includes consistent use as one of its core teaching resources for visual supports, and consistency is easy to lose between rooms and staff. A one-page "how we use this schedule" sheet at the front of the binder helps new adults get it right.
When the student needs the schedule to access instruction, record it on the IEP or 504 plan. Name the format, where it is kept, who teaches it, and how staff will fade prompts. Families who want to ask for this in meetings can start with our IEP meeting preparation guide, which uses plain language for describing classroom supports.
Step 6: Review and maintain it
A schedule that fit in September may not fit in January. Put a short review on the calendar, such as every two weeks at first and monthly once the routine is stable.
What to look at
- Prompt level. Note how much help the student needs to check the schedule during one target routine. A move from a physical guide to a point to no prompt shows growth in independence.
- Student-initiated use. Count the times the student goes to the schedule, requests a change, or asks for a break card without being told.
- Transition ease. Notice whether the student moves between activities with less distress and less adult talking, as a description rather than a score.
- The student's feedback. Ask which cards help, which feel like clutter, and what they would change.
What to update
- Replace cards that are worn, outdated, or no longer match the real activity.
- Add cards for new routines before they begin.
- Retire cards for routines that no longer need support.
- Move to a different format if the student has outgrown the first one, or add a second one if it helps. Staying with objects or photos is fine when they still work best.
Quiet compliance is a poor measure of success. A student who follows the schedule in silence and has no way to say "I need a break" is not well supported. Choose measures that show access, understanding, and independence.
Step 7: Troubleshoot when it is not being used
When a student is not using the schedule, treat that as information about the support. Work through these checks one at a time and change only one thing so you can tell what helped.
- The student ignores it. Check whether the pictures make sense to this student, whether the schedule is within sight and reach, and whether anyone has actually taught the routine. Try objects or real photos, move the schedule closer, and teach again with the model, guide, and return steps.
- The student seems overwhelmed by it. The schedule may be too long, too busy, or too bright. Cut to now and next, simplify the layout, and reduce visual clutter or screen animation.
- The student uses it with an adult but not alone. Prompts may not be thinning, or the adult may be doing the checking. Wait, point to the schedule instead of speaking, and let the student take the next step.
- Distress rises when the schedule appears. The schedule may have become a signal for demands. Pause, restore choice, add break and help cards, and review whether the schedule shows information or issues orders.
- The student rips, hides, or throws the cards. That is communication. Ask what the student is telling you: the cards may be hard to handle, the activity named may be unwelcome, or the student may want a say in the order. Offer a different card format or a choice.
- It works in one room and not another. Look at consistency. Make sure other staff use the same cards, the same words, and the same place.
- A change causes a hard day. Show the change as early as you can, use the change card, and give the student a choice within the new plan. Review with the student afterward.
If you have adjusted format, length, and teaching and the student still does not use it, ask the student's speech-language pathologist, occupational therapist, or IEP team to help look at communication and access needs. The right support might be a different visual tool or a different kind of help altogether.
Start small and let the student lead
Choose one student and one routine this week. Watch how they take in information, pick the simplest format that matches, build it together, and teach it in the same short way each day. Check in after two weeks and adjust. A student who can see what is happening now and next, and who has a reliable way to ask for a break or a change, can spend more of the day learning and connecting. For more classroom and family supports built on research-backed strategies, browse our Resources page.
Sources
- AFIRM Team. Visual Supports module and teaching resources (Use VS: Teaching Visual Schedules; Use VS: Thin Prompts; Use VS: Use VS Consistently). Frank Porter Graham Child Development Institute, University of North Carolina at Chapel Hill. afirm.fpg.unc.edu/module/visual-supports
- Steinbrenner, J. R., et al. (2020). Evidence-based practices for children, youth, and young adults with autism. National Clearinghouse on Autism Evidence and Practice, Frank Porter Graham Child Development Institute. NCAEP 2020 report (PDF)
- IRIS Center, Vanderbilt University. Autism Spectrum Disorder, Part 1, Page 6: The Learning Environment. iris.peabody.vanderbilt.edu
- Mouzakes, T. N., & Thompson, R. H. (2025). A closer examination of the visual schedule component of interventions to improve transitions. Behavioral Interventions, 40(4), e70028. https://doi.org/10.1002/bin.70028
- Liang, Z., Lee, D., Zuo, J., & Liang, S. (2024). The use of visual schedules to increase academic-related on-task behaviors of individuals with autism: A literature review. International Journal of Developmental Disabilities, 72, 1326–1339. Published online September 12, 2024. https://doi.org/10.1080/20473869.2024.2402124
